How To: Get Credentials for Stripe Connect Payments
When you create a payment method that uses Stripe Connect Payments, you’ll need to get Client ID, Publishable key, and a private API key from the Stripe website. In turn you’ll have to copy the URLs from the Redirect URIs field in Multi-Vendor to the field with the same name on the Stripe dashboard.
Note
You can also refer to Stripe documentation to learn more about getting these credentials.
Getting Client ID and Defining Redirect URI
Log in to your Stripe account or create a new one at the Stripe website.
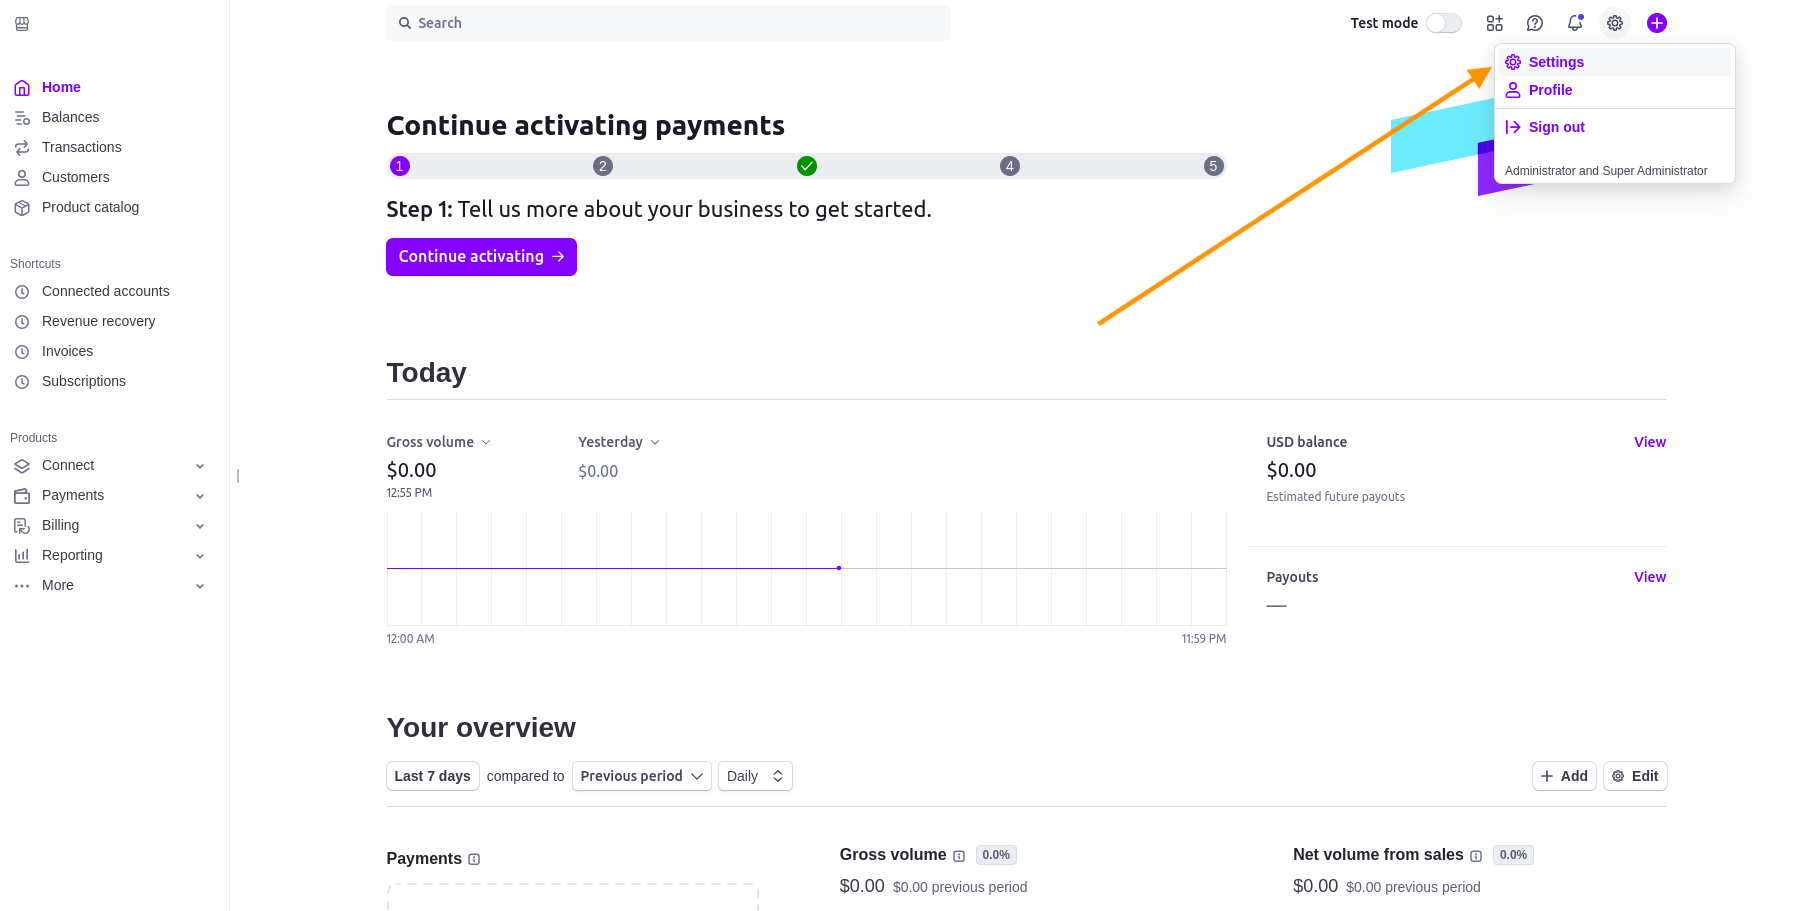
Select Settings in the upper right corner of the Stripe dashboard.
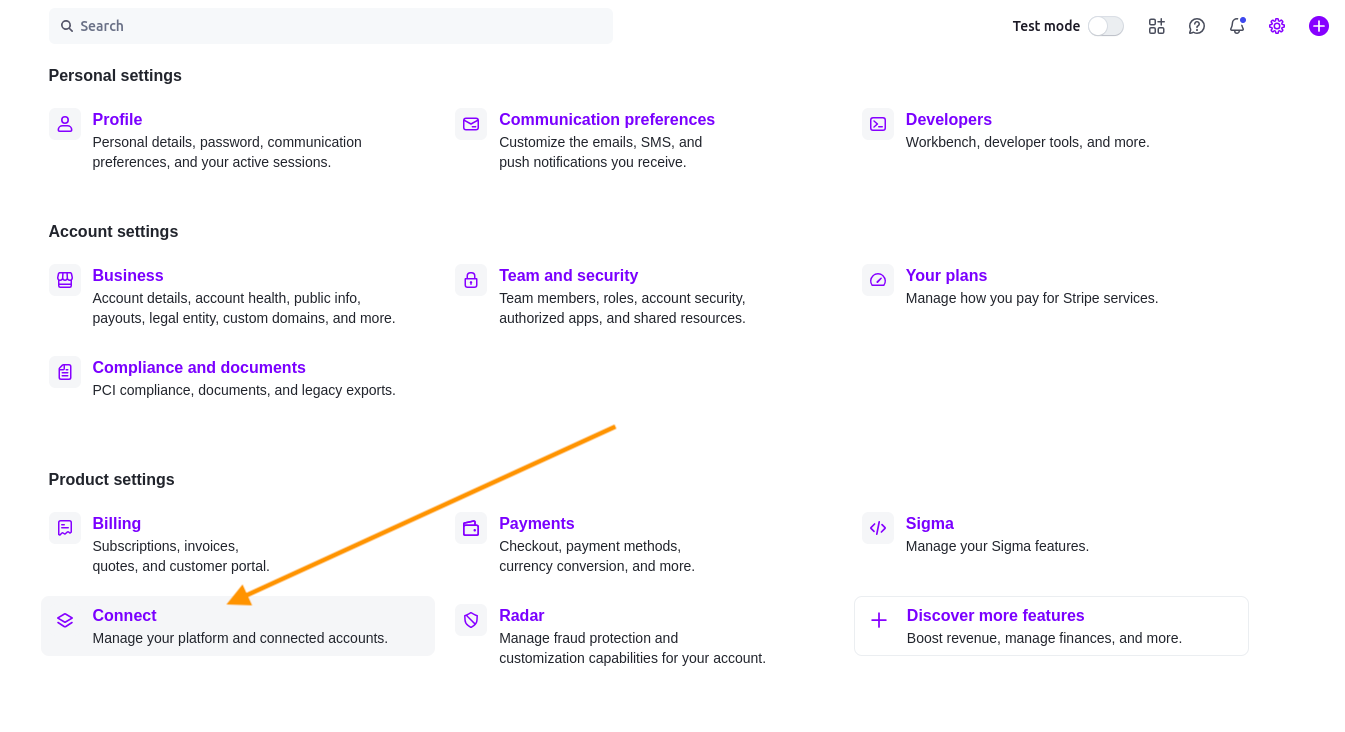
In the Product settings section, click Connect.
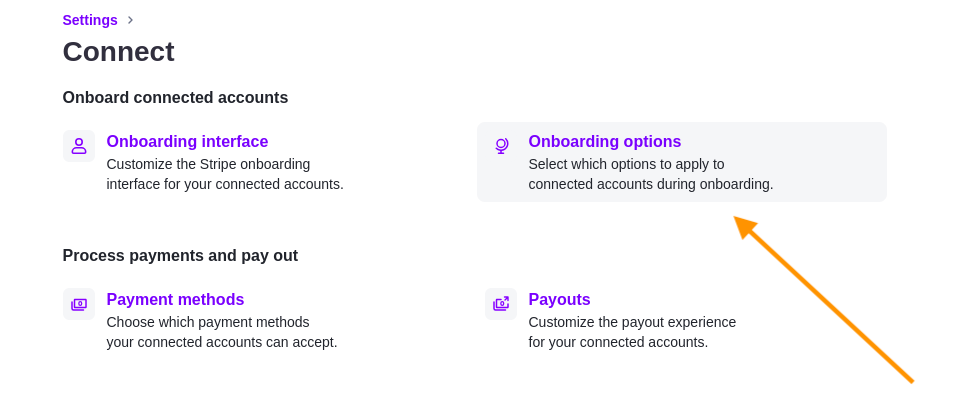
Click the Onboarding options button.
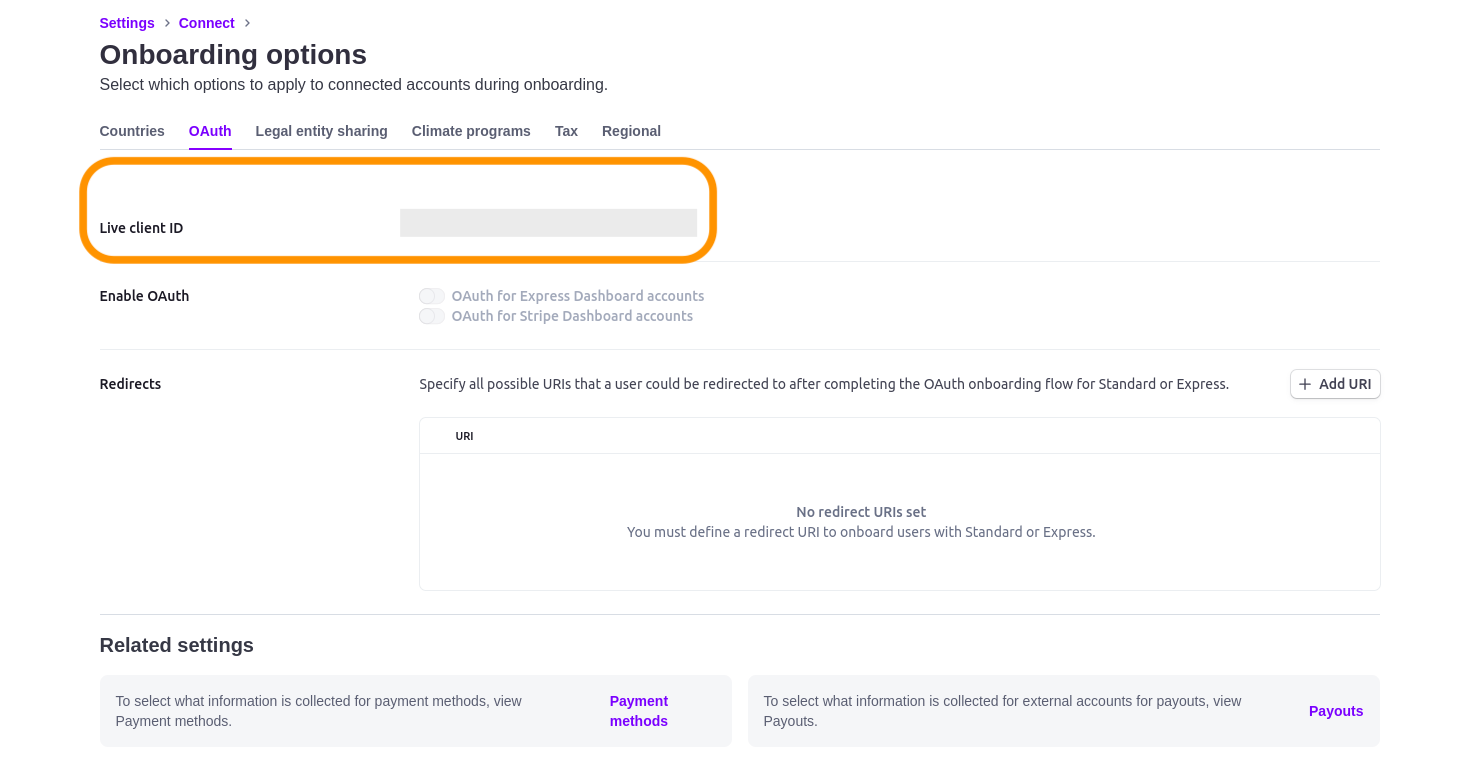
In the OAuth tab copy the Live client ID.
Paste this ID to the corresponding field of the Stripe Connect payment method settings.
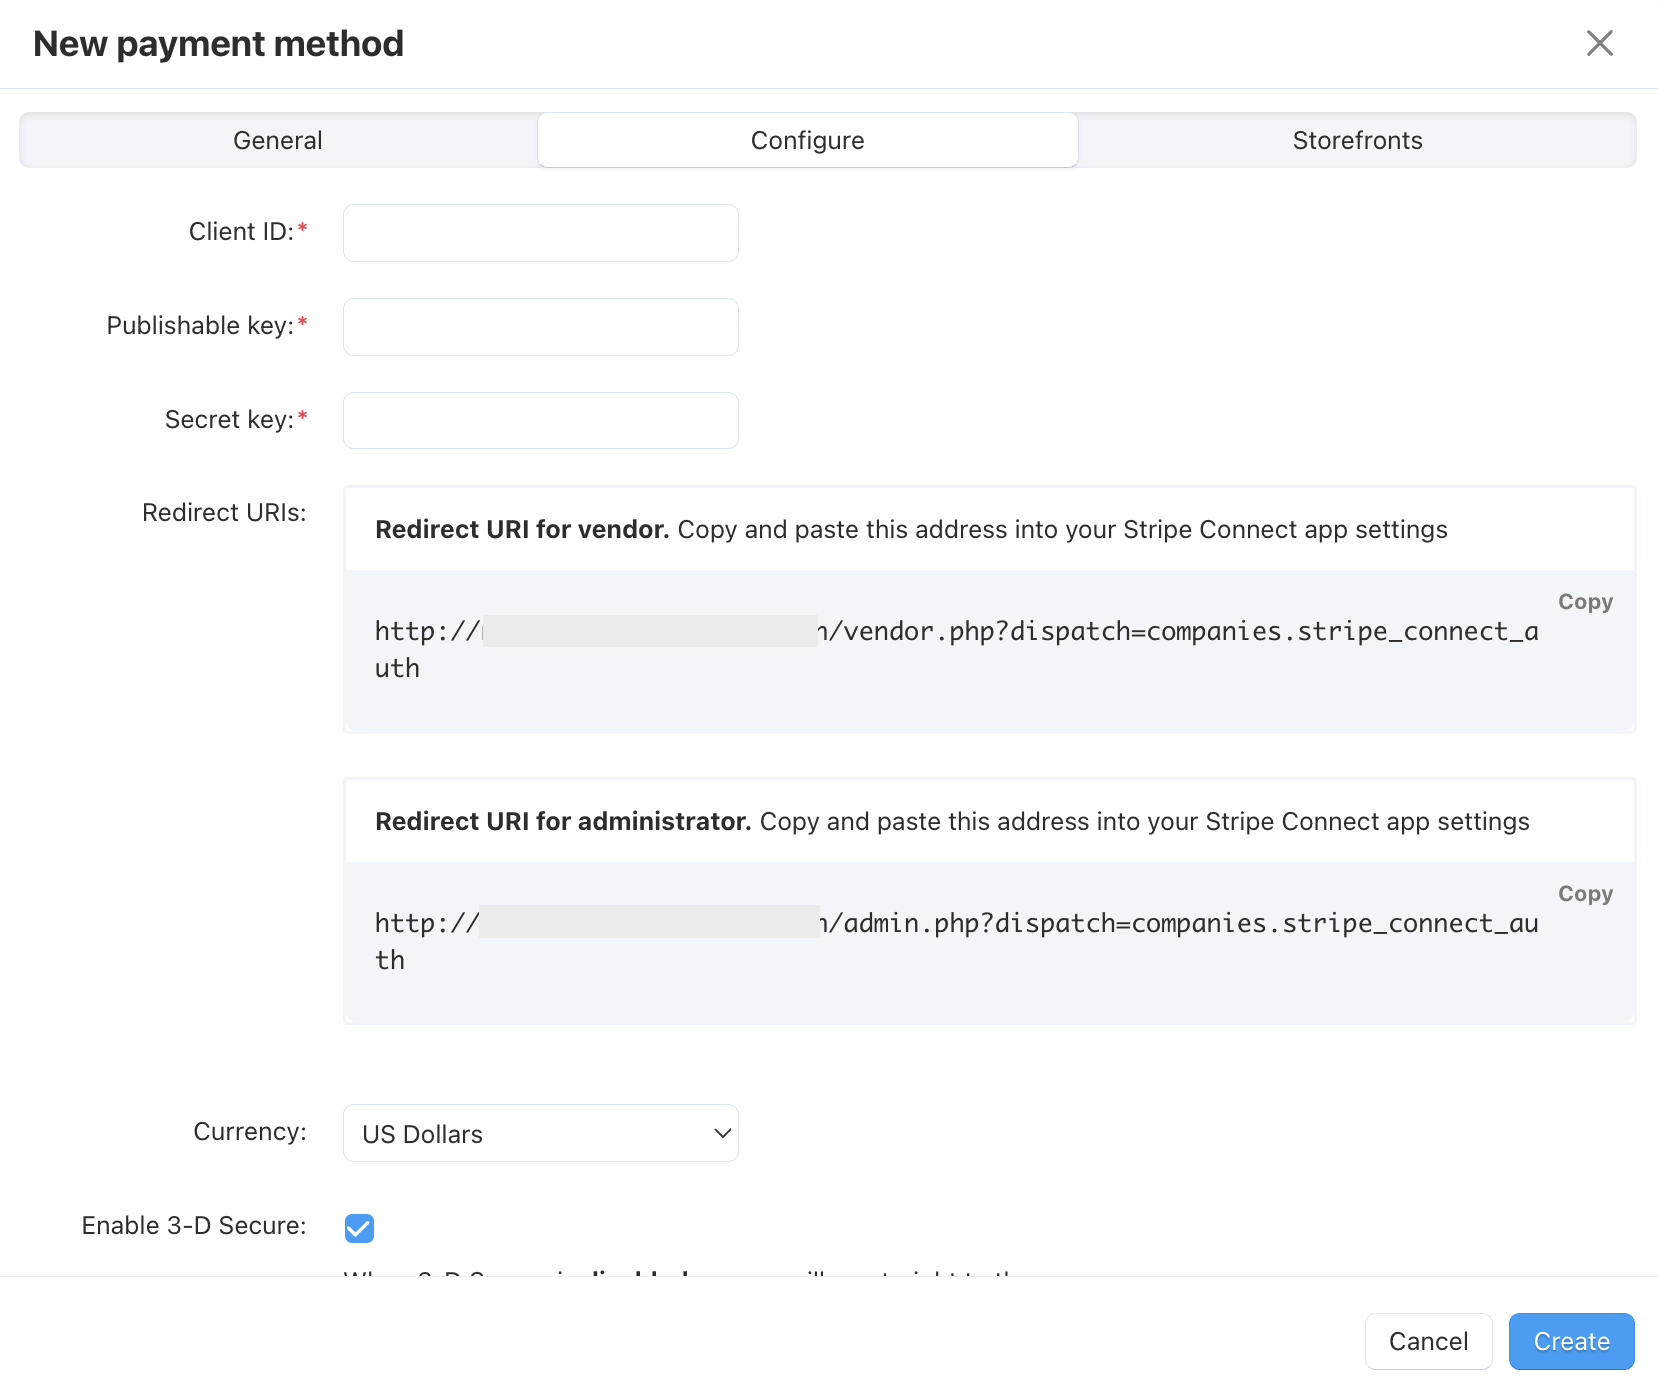
Copy both Redirect URIs from the Stripe Connect payment method settings in Multi-Vendor.
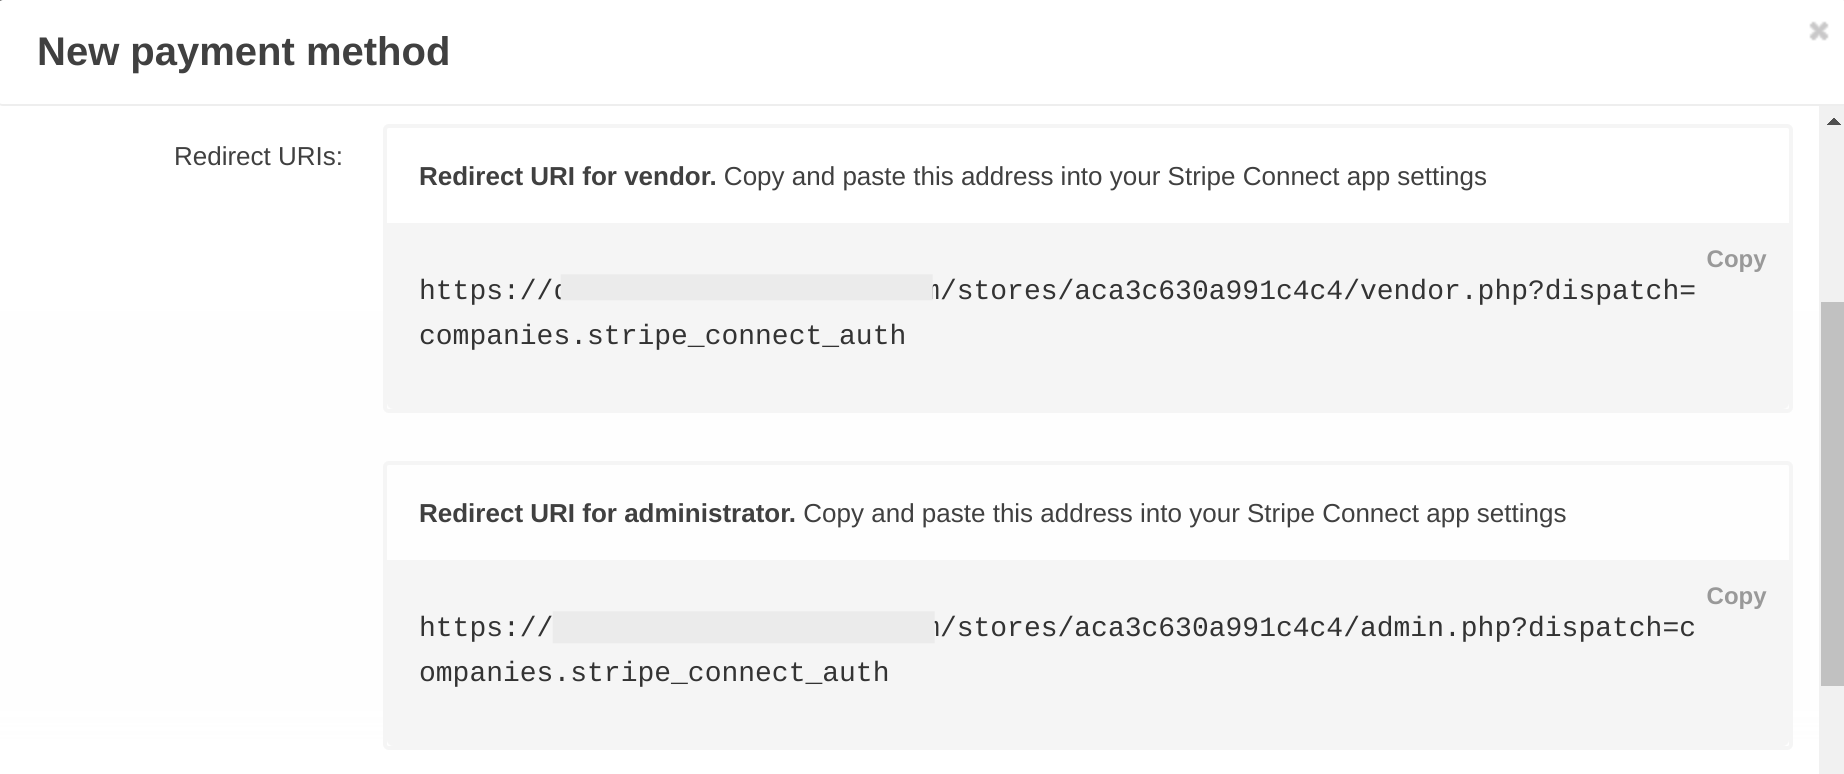
Go back to the Stripe dashboard and insert the URIs into the corresponding field.

Getting API Keys
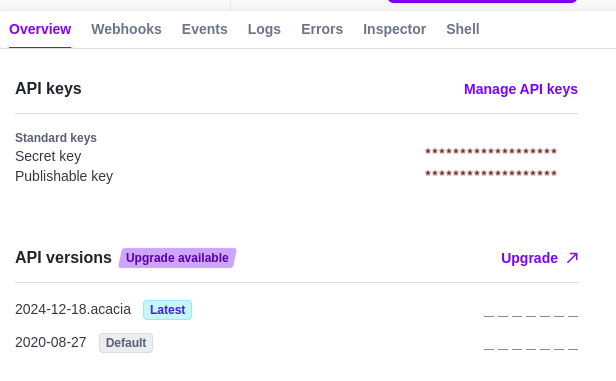
In your Stripe Dashboard, open the API keys page. Get the keys for the following fields in Multi-Vendor:
- Publishable key—copy your Stripe publishable key, which starts with
pk_. - Private API key—use a restricted key starting with
rk_, or a secret key starting withsk_, depending on the configuration supported by your Multi-Vendor version. If you don’t have a suitable restricted key, create one and configure the permissions required by the integration.
A restricted key lets you limit permissions, while a secret key grants unrestricted API access. Stripe recommends using restricted keys with only the permissions your integration needs.
- Publishable key—copy your Stripe publishable key, which starts with
Paste these keys into the corresponding fields of the Stripe Connect payment method settings.
Note
To accept real payments, use live API keys: a publishable key starting with pk_live_ and a private API key starting with rk_live_ or sk_live_. Test keys start with pk_test_, rk_test_, or sk_test_ and cannot process real payments. Make sure your Client ID and API keys belong to the same Stripe account and mode.
Questions & Feedback
Have any questions that weren't answered here? Need help with solving a problem in your online store? Want to report a bug in our software? Find out how to contact us.